はじめに
今回はボリュームレンダリングについて調べてみました。
ボリュームレンダリングは CT スキャンや MRI などで得られたデータや、雲やエフェクトなどの事前に用意またはリアルタイムに計算した 3 次元のデータを 2 次元の画面上に描画するための手法です。Unity では 3D のデータとしてTexture3Dが用意されており、これをシェーダを通じて処理することで GPU を使った計算によるレンダリングが行えます。本エントリではまずは入門編ということで、簡単なレイキャストによるボリュームレンダリングを紹介します。
シリーズ
続きはこちら
プロジェクト
今回のプロジェクトのサンプルは以下になります。
1 ~ 3 が今回の範囲になります。
Texture3D
まずは Texture3D を使うためのおさらいです。Texture3D については以下で少し触れました。
おなじコードを使って適当な Texture3D を生成してみましょう。
using UnityEngine;

public class Create3DTex : MonoBehaviour
{
    [SerializeField]
    int size = 16;

    void Start()
    {
        var tex = new Texture3D(size, size, size, TextureFormat.ARGB32, true);
        var colors = new Color[size * size * size];

        float a = 1f / (size - 1);
        int i = 0;
        Color c = Color.white;

        for (int z = 0; z < size; ++z)
        {
            for (int y = 0; y < size; ++y)
            {
                for (int x = 0; x < size; ++x, ++i)
                {
                    c.r = ((x & 1) != 0) ? x * a : 1 - x * a;
                    c.g = ((y & 1) != 0) ? y * a : 1 - y * a;
                    c.b = ((z & 1) != 0) ? z * a : 1 - z * a;
                    colors[i] = c;
                }
            }
        }

        tex.SetPixels(colors);
        tex.Apply();

        var renderer = GetComponent<Renderer>();
        renderer.material.SetTexture("_Volume", tex);
    }
}
これにより作成された Texture3D をシェーダ内で tex3D を使って参照します。
Shader "VolumeRendering/3D Texture"
{

Properties
{
    _Volume("Volume", 3D) = "" {}
}

CGINCLUDE

#include "UnityCG.cginc"

struct appdata
{
    float4 vertex : POSITION;
};

struct v2f
{
    float4 vertex : SV_POSITION;
    float3 uv : TEXCOORD0;
};

sampler3D _Volume;

v2f vert(appdata v)
{
    v2f o;
    o.vertex = UnityObjectToClipPos(v.vertex);
    o.uv = v.vertex.xyz * 0.5 + 0.5;
    return o;
}

fixed4 frag(v2f i) : SV_Target
{
    return tex3D(_Volume, i.uv);
}

ENDCG

SubShader
{

Tags
{
    "RenderType"="Opaque"
}

Pass
{
    CGPROGRAM
    #pragma vertex vert
    #pragma fragment frag
    ENDCG
}

}

}
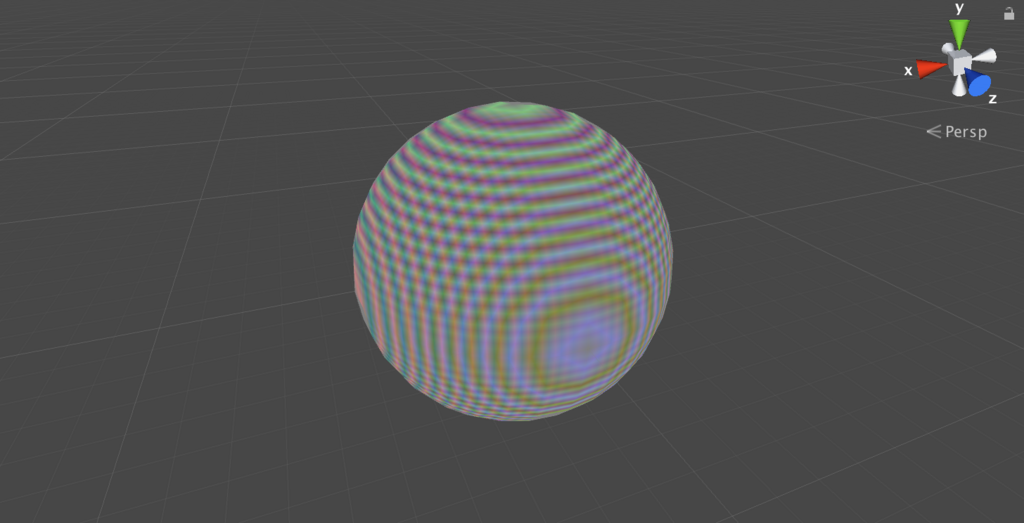
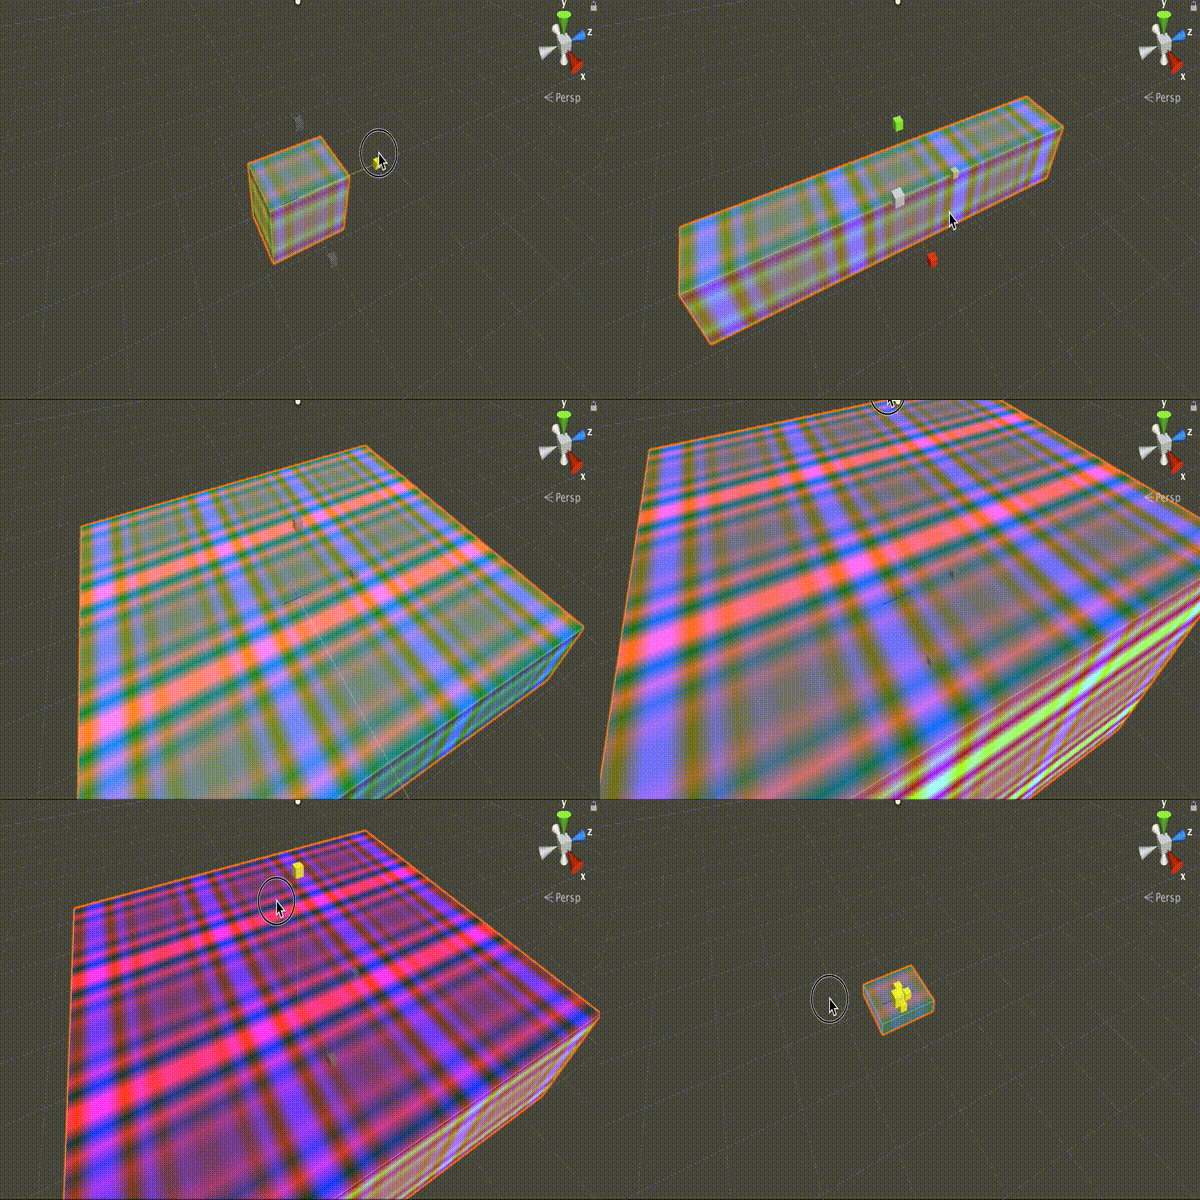
ポリゴン表面に来る 3D テクスチャの色が描かれます。次のように頂点シェーダのコードを変更すれば図形の大きさを変更したり動かしたりすることで、見たい 3D テクスチャの部位をワールド座標でクリッピング出来ます。
v2f vert(appdata v)
{
    v2f o;
    o.vertex = UnityObjectToClipPos(v.vertex);
    float4 wpos = mul(unity_ObjectToWorld, v.vertex);
    o.uv = wpos.xyz * 0.5 + 0.5;
    return o;
}
3D テクスチャのデータ
データのダウンロードと変換
コードで適当に生成したものでは面白くないので、実際にスキャンされたデータを使ってみましょう。以下のサイトで、PVM という形式のファイルが非商用・無保証で配布されています。
http://lgdv.cs.fau.de/External/vollib/- The Volume Library
- (追記:2019/10/16)リンク切れを起こしているようでこちらからダウンロード可能なようです(@Alupaca1363Inew さんありがとうございます)
試しに鯉(Carp)のデータ(Carp.pvm)をダウンロードしてデータを見てみます。PVM そのままでは読めないので、RAW データに変換するために以下のサイトで配布されている V3(Versatile Volume Viewer)をビルドして、中に含まれている pvm2raw というツールを使います。
Mac だとビルドスクリプトが動かなかったので、CMake でビルドしました。
$ unzip VIEWER-5.2.zip
$ cd viewer
$ cmake .
$ make
tools ディレクトリに pvm2raw が入っているので、これで先ほどダウンロードした Carp.pvm を変換します。
$ viewer/tools/pvm2raw Carp.pvm Carp.raw
reading PVM file
found volume with width=256 height=256 depth=512 components=2
and edge length 0.78125/0.390625/1
and data checksum=AEB61B35
これで RAW のデータができました。RAW のデータの中には width * height * depth * components byte のデータが含まれています。Carp のデータは 256 * 256 * 512 * 16 bit なので合計 67108864 byte になります。
データの読み込み
この RAW データを Unity の Texture3D に変換してみます。折角なのでお勉強がてら ScriptedImporter で DnD で変換できるようにします。
ちょっとコードが長くてアレですが...、以下のようなコードを書くと、RAW データをそのまま 3D テクスチャとして使えるようになります。
using UnityEngine;
using UnityEditor;
using UnityEditor.Experimental.AssetImporters;
using System;
using System.IO;

[ScriptedImporter(1, "raw")]
public class PvmRawImporter : ScriptedImporter
{
    public enum Bits
    {
        Eight = 1,
        Sixteen = 2,
    }

    public int width = 256;
    public int height = 256;
    public int depth = 256;
    public Bits bit = Bits.Eight;

    int totalSize
    {
        get { return width * height * depth * (int)bit; }
    }

    int maxValueSize
    {
        get
        {
            switch (bit)
            {
                case Bits.Eight   : return (int)Byte.MaxValue;
                case Bits.Sixteen : return (int)UInt16.MaxValue;
                default:
                    throw new Exception("bit is wrong.");
            }
        }
    }

    Texture3D GetTexture3D(string path)
    {
        using (var stream = new FileStream(path, FileMode.Open))
        {
            if (stream.Length != totalSize)
            {
                throw new Exception("Data size is wrong.");
            }

            int n = totalSize;
            var colors = new Color[n];
            float a = 1f / maxValueSize;
            var buf = new byte[(int)bit];

            for (int i = 0; i < n; ++i)
            {
                float value = 0f;
                switch (bit)
                {
                    case Bits.Eight:
                        var b = stream.ReadByte();
                        value = a * b;
                        break;
                    case Bits.Sixteen:
                        stream.Read(buf, 0, 2);
                        value = a * BitConverter.ToUInt16(buf, 0);
                        break;
                }
                colors[i] = new Color(value, value, value, value);
            }

            var tex3d = new Texture3D(width, height, depth, TextureFormat.RGBA32, false);
            tex3d.SetPixels(colors, 0);

            return tex3d;
        }
    }

    public override void OnImportAsset(AssetImportContext ctx)
    {
        try
        {
            var tex3d = GetTexture3D(ctx.assetPath);
            ctx.AddObjectToAsset("Volume", tex3d);
        }
        catch (Exception e)
        {
            Debug.LogException(e);
        }
    }
}
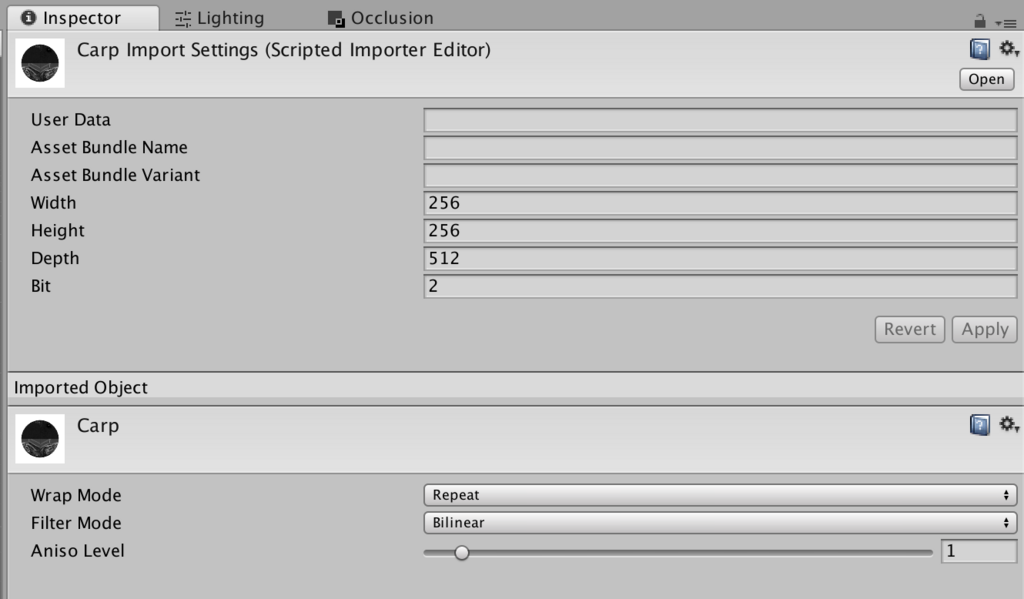
RAW データをドラッグ&ドロップすると次の図のように public 変数がインスペクタに表示されます。enum がプルダウンにならないのがアレですが...、鯉のデータは 256 * 256 * 512、16 bit なので、そうなるよう入力し、Apply ボタンを押します。
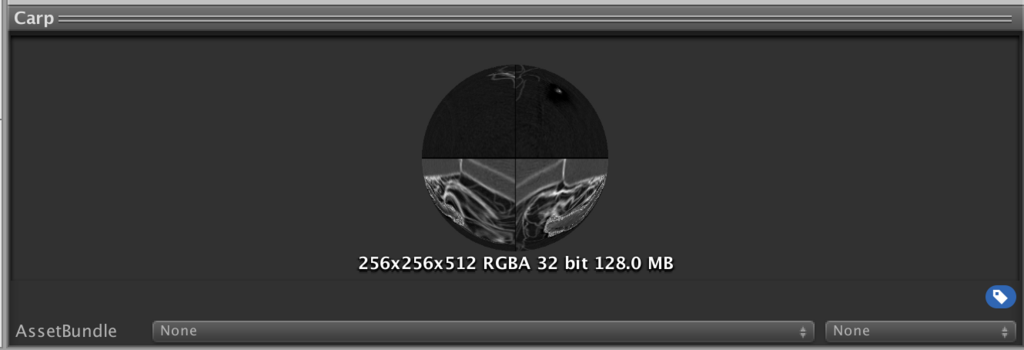
これで RAW データが Texture3D として使えるようになりました。
データを見てみる
これを先ほどと同じようにクリッピングしてみると次のようになります。
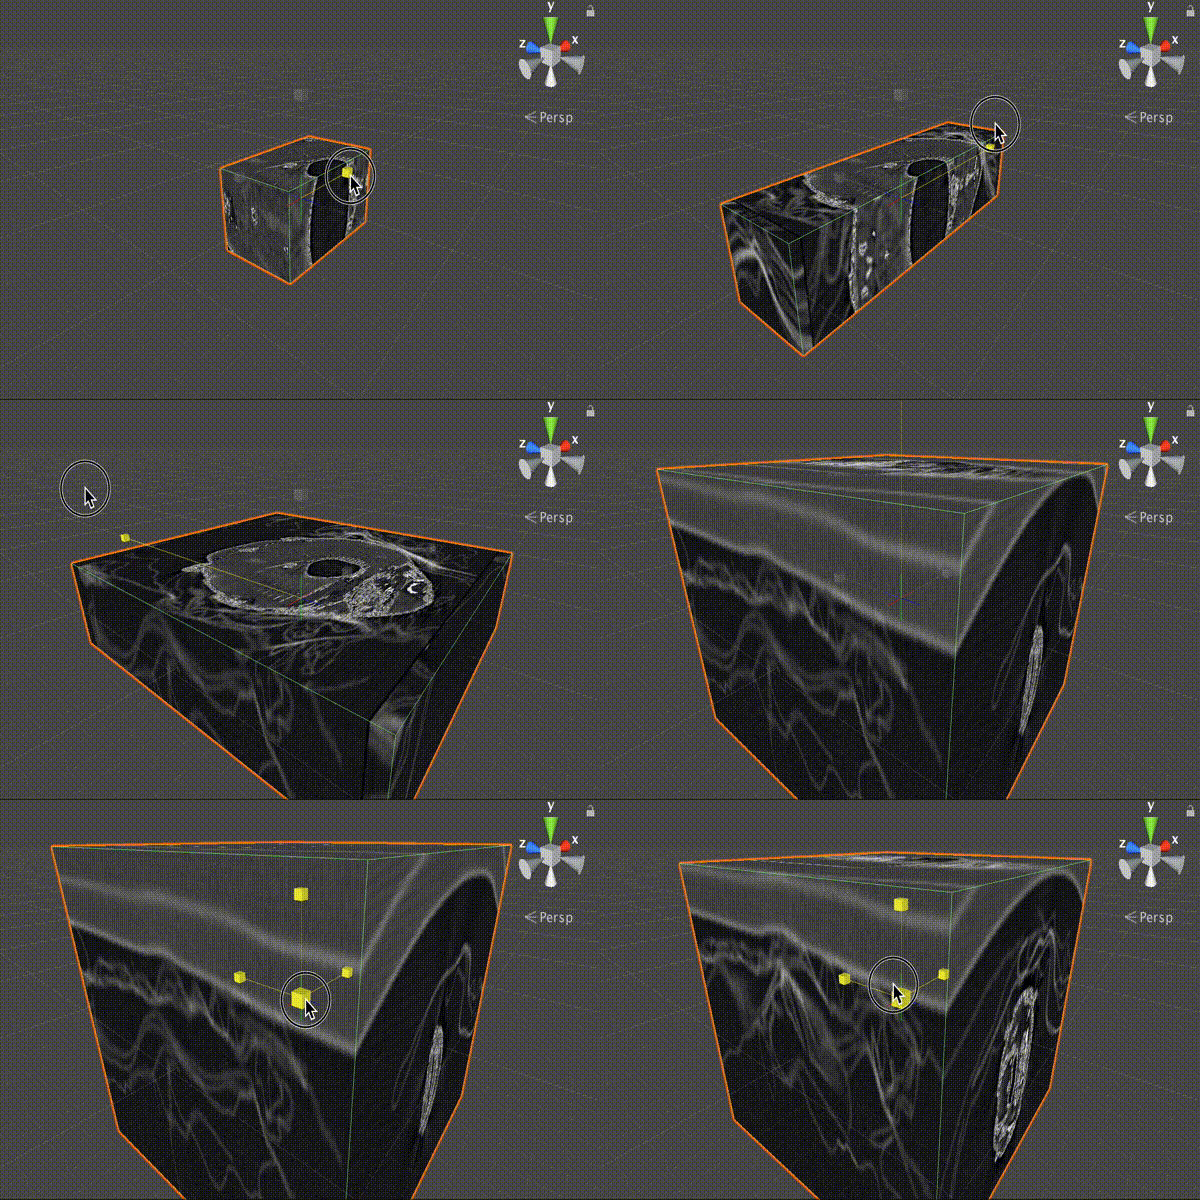
見ての通り、単にワールド座標で区切っただけだと全体がどうなっているのか分かりませんね。次にこれをボリュームレンダリングによって見えるようにしましょう。
ボリュームレンダリング
実装
手法はいくつかあるようなのですが、以下のサイトの方法を参考にします。
ここで使われている仕組みはそこまで難しくなく、直方体で区切られたエリアをちょっとずつレイを進めていき、その点の 3D テクスチャをサンプリングして足し合わせてアルファブレンディングしていく方式です。以下に図と実装を示します。ちょっと方式は変えて、レイを進めるのはローカル(オブジェクト)スペースで計算するようにしています。

Shader "VolumeRendering/VolumeRendering"
{

Properties
{
    _Volume("Volume", 3D) = "" {}
    _Color("Color", Color) = (1, 1, 1, 1)
    _Iteration("Iteration", Int) = 10
    _Intensity("Intensity", Range(0, 1)) = 0.1
}

CGINCLUDE

#include "UnityCG.cginc"

struct appdata
{
    float4 vertex : POSITION;
};

struct v2f
{
    float4 vertex   : SV_POSITION;
    float4 localPos : TEXCOORD0;
    float4 worldPos : TEXCOORD1;
};

sampler3D _Volume;
fixed4 _Color;
int _Iteration;
fixed _Intensity;

v2f vert(appdata v)
{
    v2f o;
    o.vertex = UnityObjectToClipPos(v.vertex);
    o.localPos = v.vertex;
    o.worldPos = mul(unity_ObjectToWorld, v.vertex);
    return o;
}

fixed4 frag(v2f i) : SV_Target
{
    float3 wdir = i.worldPos - _WorldSpaceCameraPos;
    float3 ldir = normalize(mul(unity_WorldToObject, wdir));
    float3 lstep = ldir / _Iteration;
    float3 lpos = i.localPos;
    fixed output = 0.0;

    [loop]
    for (int i = 0; i < _Iteration; ++i)
    {
        fixed a = tex3D(_Volume, lpos + 0.5).r;
        output += (1 - output) * a * _Intensity;
        lpos += lstep;
        if (!all(max(0.5 - abs(lpos), 0.0))) break;
    }

    return _Color * output;
}

ENDCG

SubShader
{

Tags
{
    "Queue" = "Transparent"
    "RenderType" = "Transparent"
}

Pass
{
    Cull Back
    ZWrite Off
    Blend SrcAlpha OneMinusSrcAlpha
    Lighting Off

    CGPROGRAM
    #pragma vertex vert
    #pragma fragment frag
    ENDCG
}

}

}
オブジェクトの内外判定(ループ内の if 文)はこちらの記事と同じ方式です。
内外判定は Masatatsu Nakamura さんの以下のリポジトリでやっているように AABB と直線の判定にしたほうが軽量で且つ事前にレイのステップも適切なものを選べることから、次回はこちらでやります。
では結果を見てみましょう。
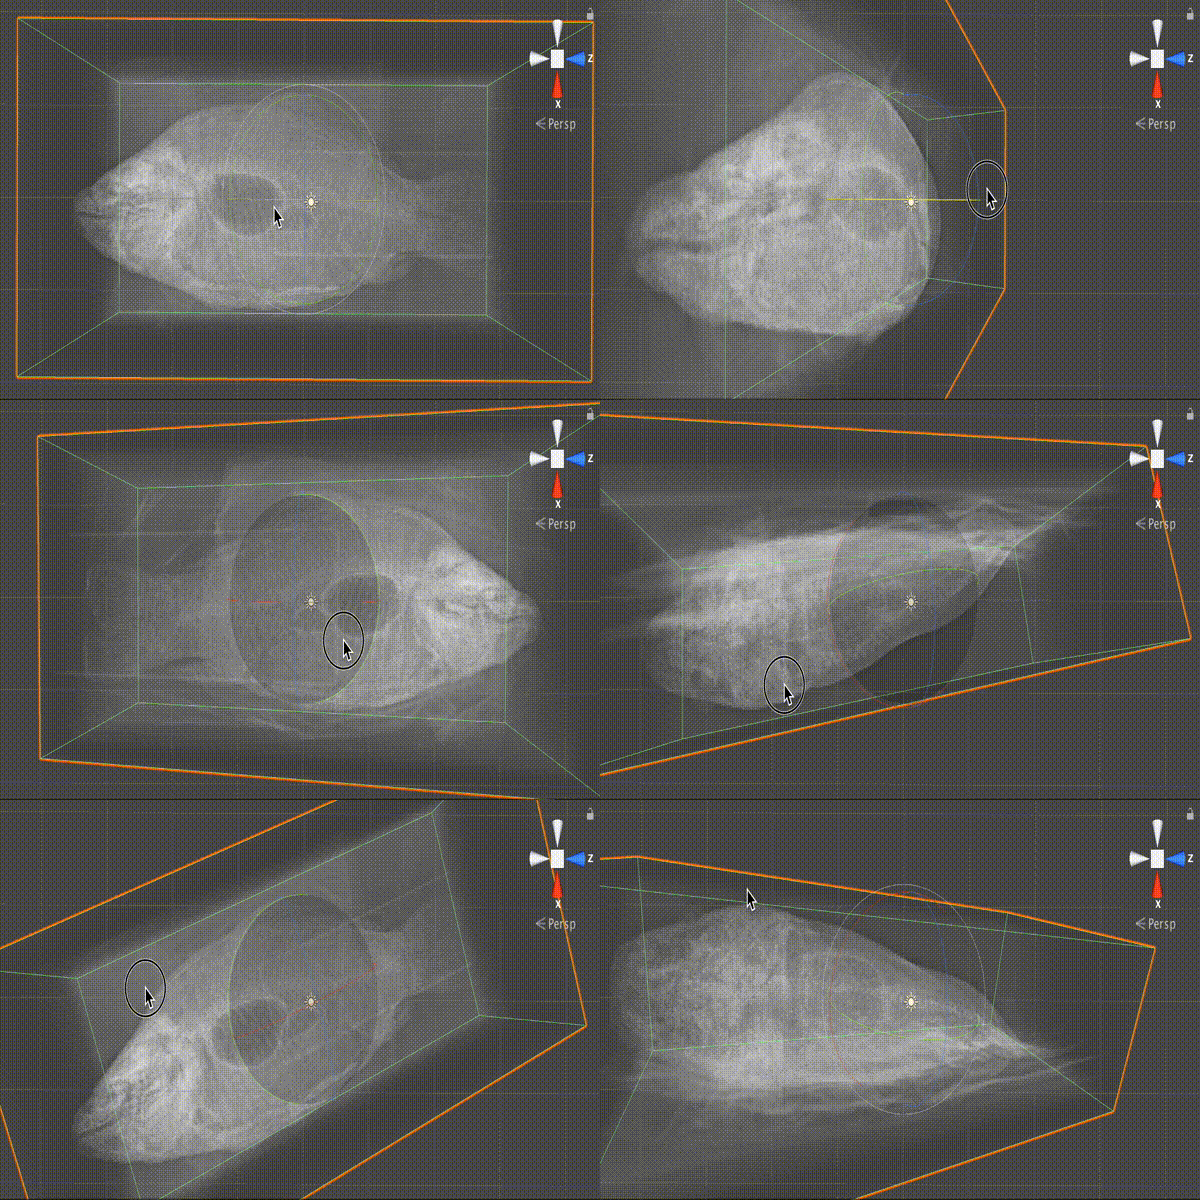
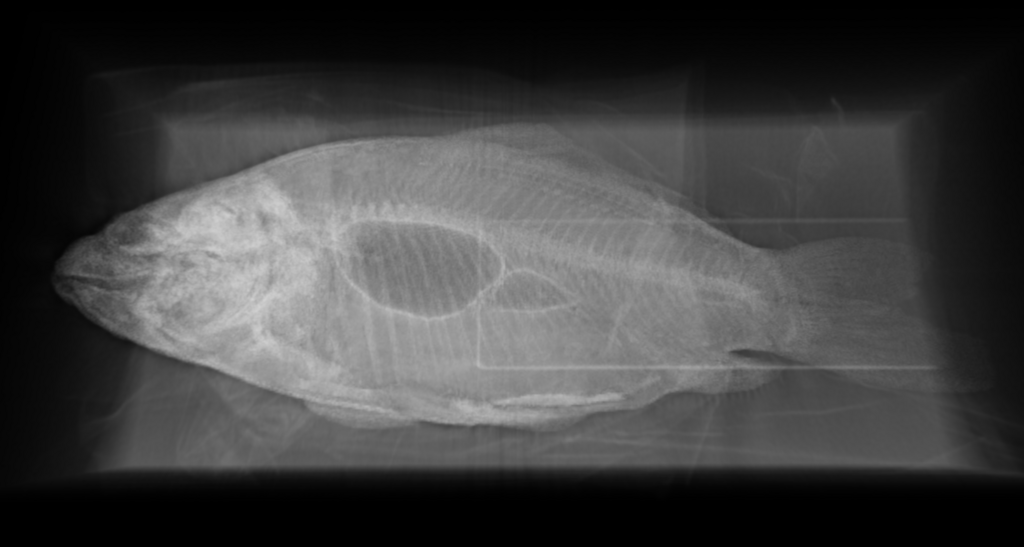
これで全体像が見えるようになります。ループ回数(_Iteration)を増やすと重くはなりますが鮮明になります。
切ってみる
スライスできるようにシェーダに範囲のプロパティを追加してみましょう。
Shader "VolumeRendering/VolumeRendering"
{

Properties
{
    [Header(Rendering)]
    _Volume("Volume", 3D) = "" {}
    ...

    [Header(Ranges)]
    _MinX("MinX", Range(0, 1)) = 0.0
    _MaxX("MaxX", Range(0, 1)) = 1.0
    _MinY("MinY", Range(0, 1)) = 0.0
    _MaxY("MaxY", Range(0, 1)) = 1.0
    _MinZ("MinZ", Range(0, 1)) = 0.0
    _MaxZ("MaxZ", Range(0, 1)) = 1.0
}

...

fixed _MinX, _MaxX, _MinY, _MaxY, _MinZ, _MaxZ;

fixed sample(float3 pos)
{
    fixed x = step(pos.x, _MaxX) * step(_MinX, pos.x);
    fixed y = step(pos.y, _MaxY) * step(_MinY, pos.y);
    fixed z = step(pos.z, _MaxZ) * step(_MinZ, pos.z);
    return tex3D(_Volume, pos).r * x * y * z;
}

...

fixed4 frag(v2f i) : SV_Target
{
    ...
    for (int i = 0; i < _Iteration; ++i)
    {
        fixed a = sample(lpos + 0.5);
        ...
    }
    ...
}

...

}
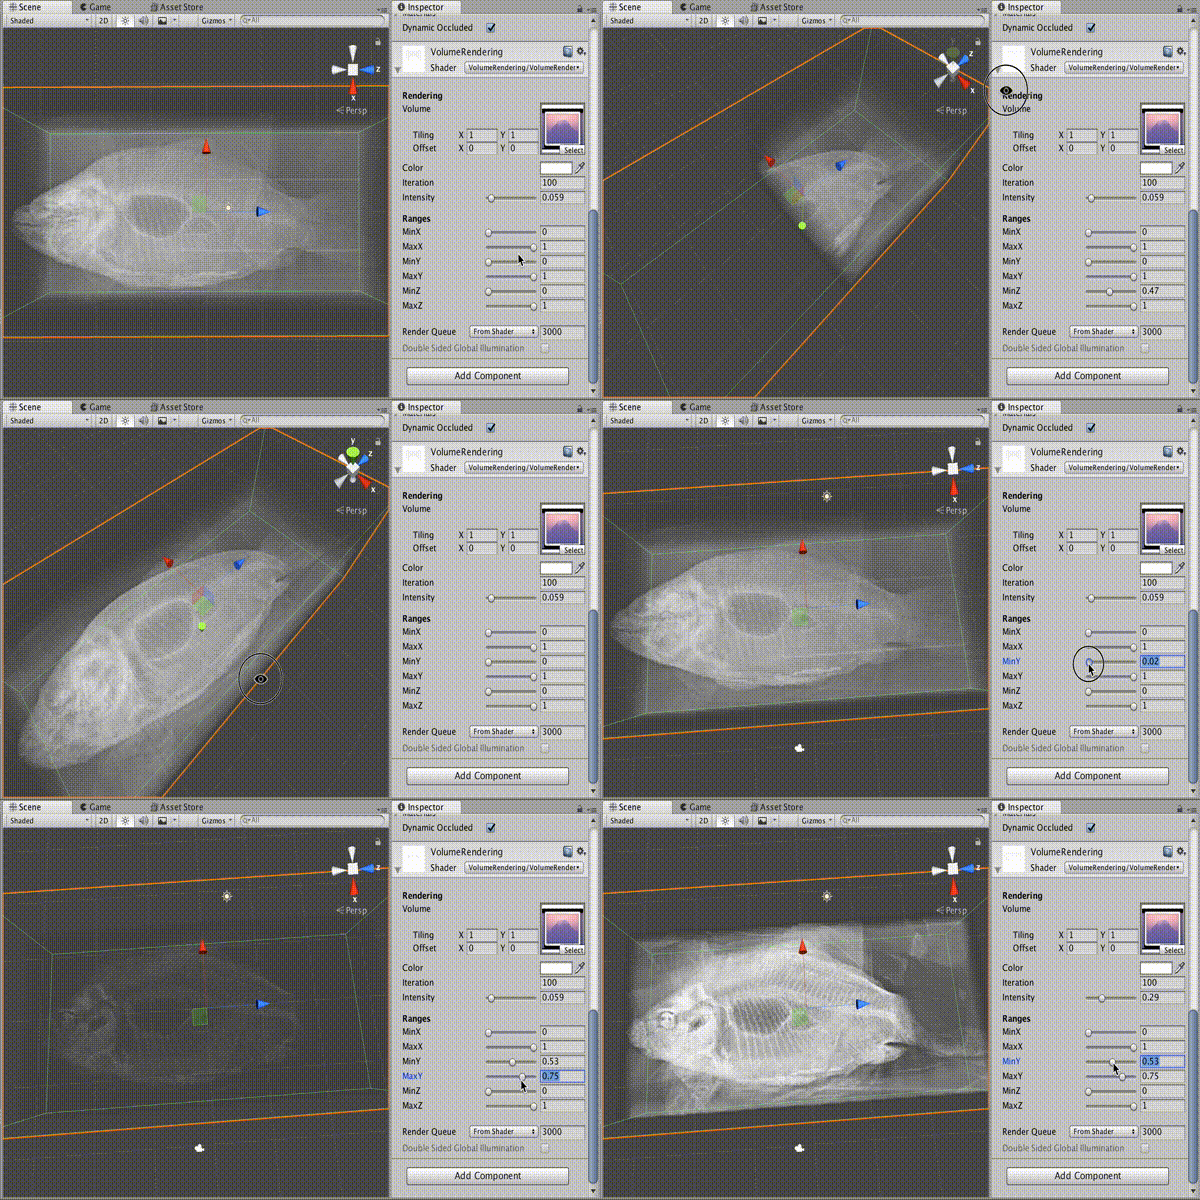
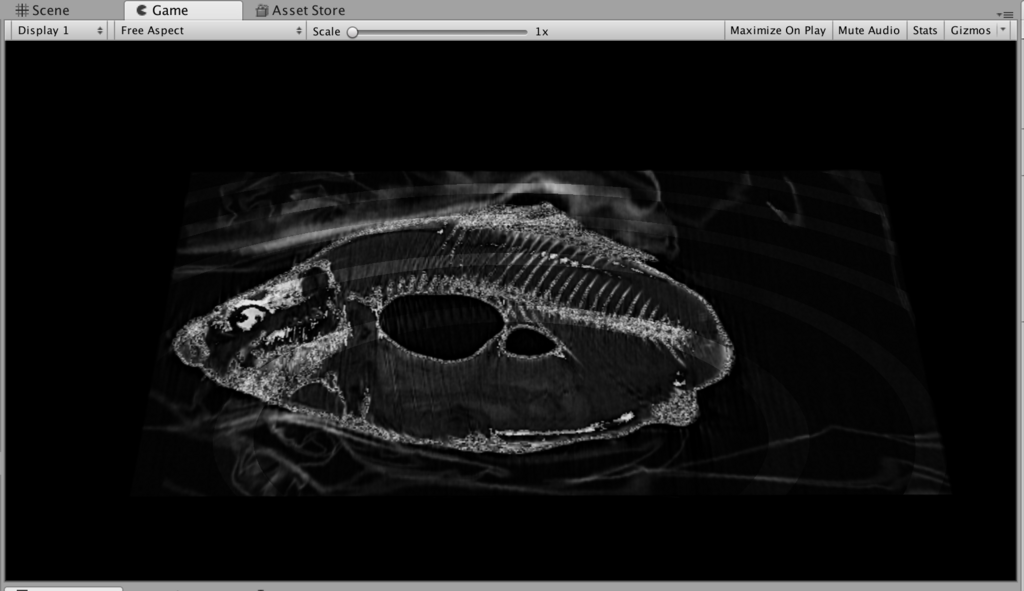
鯉こくとか三枚おろしとか作れそうです。
おわりに
次回は今回雑に実装をしたところの改善や、色付け、シェーディングしたりするところをやります。
追記(2018/01/08)
続きを書きました。